10:57 AM
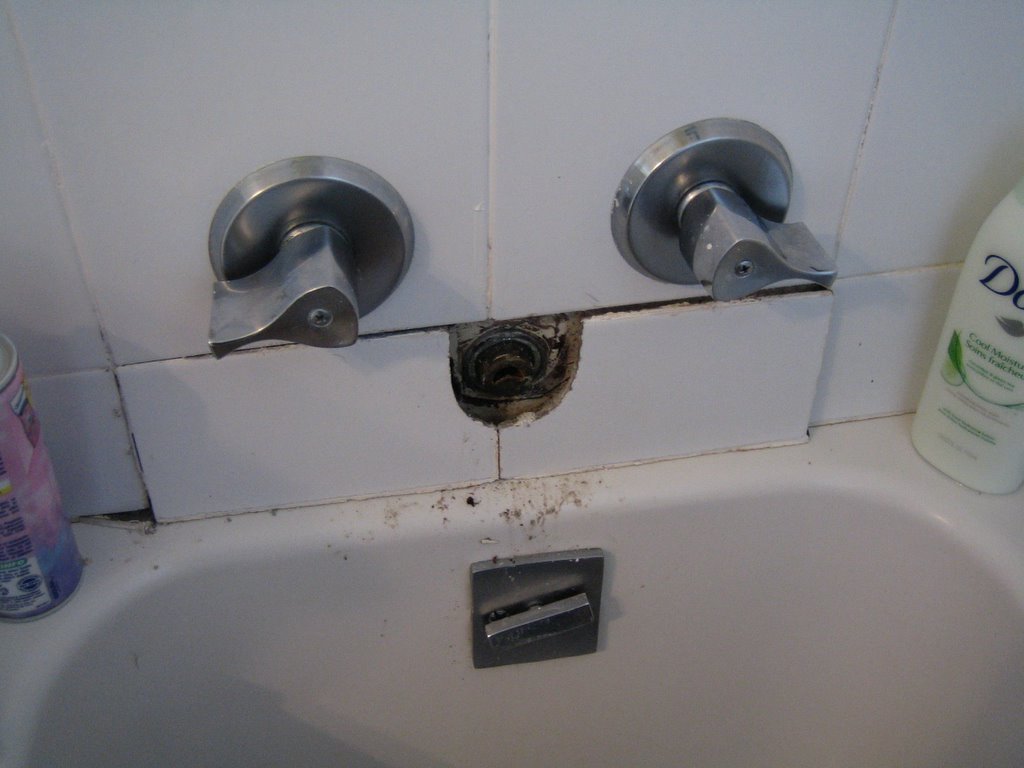
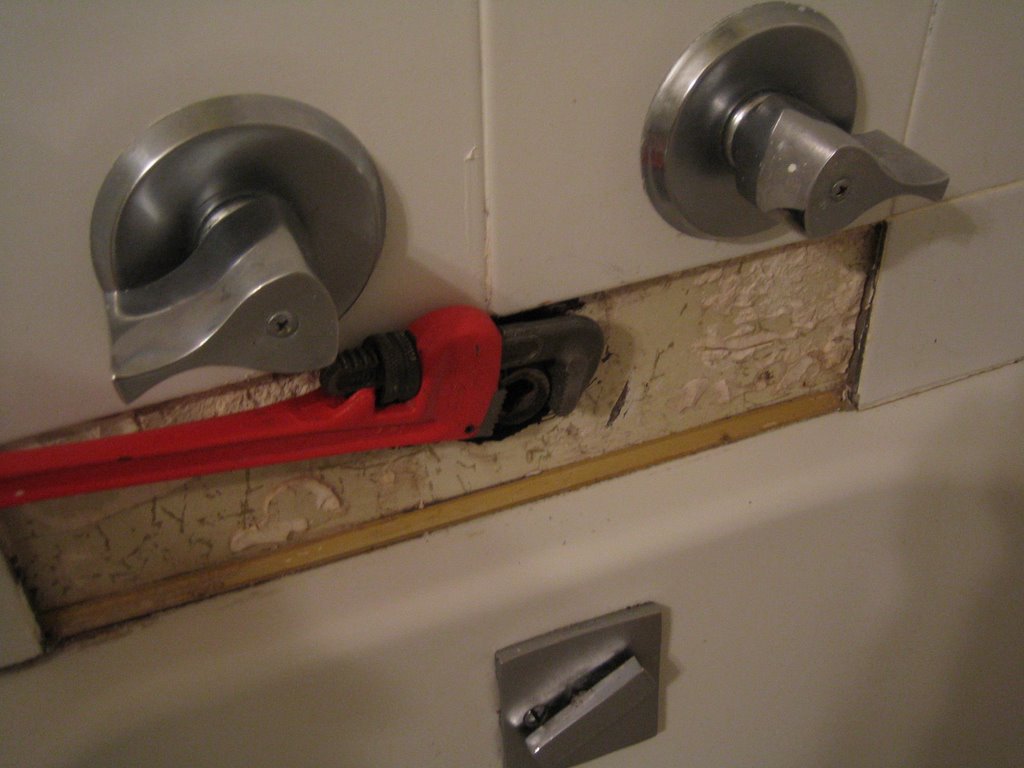
Step 1: Remove Faucet
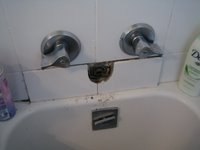
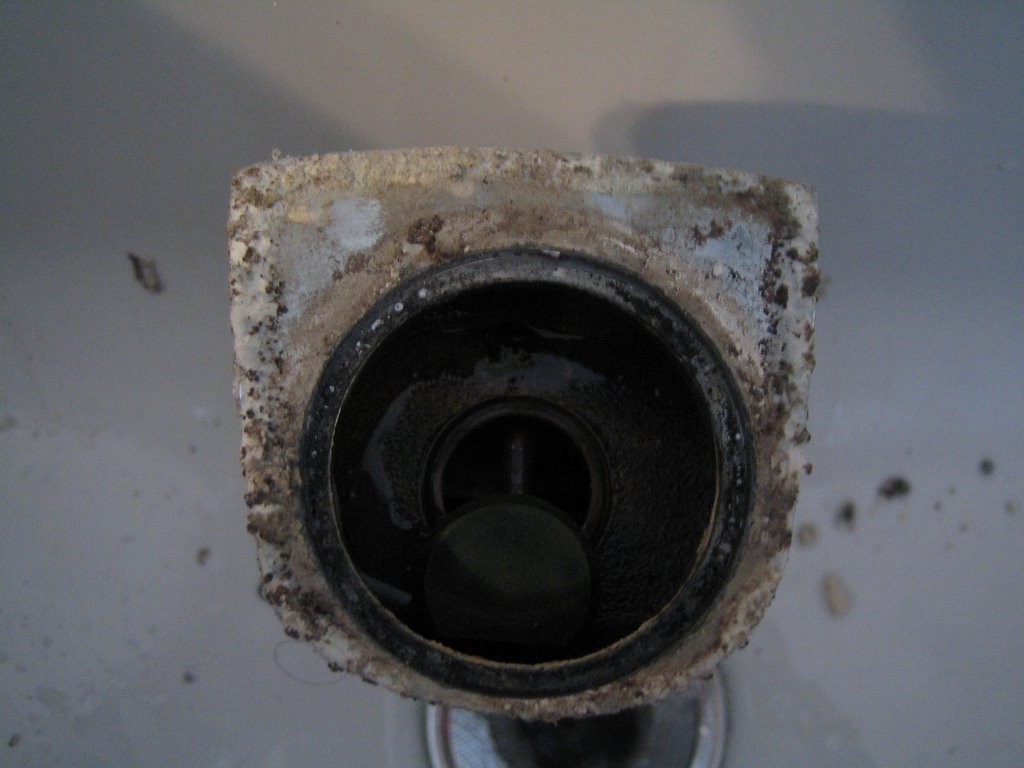
Using a plumber's wrench, the faucet head was twisted off. It snapped off instead of twisting. Hmm.
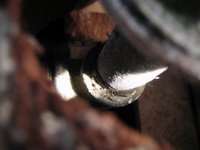
A closer look at the fixture reveals a strange non-threaded fitting. 40's? 50's? 60's? Ugh.
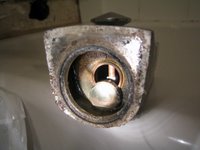
Step 2: Remove Tiles

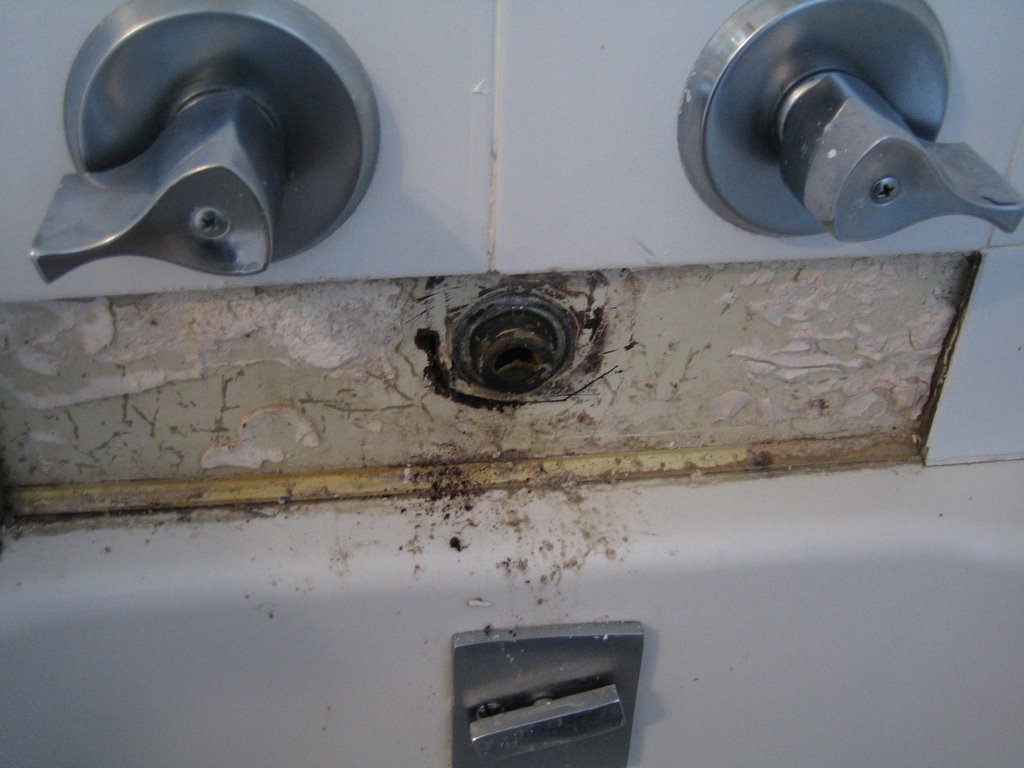
Use a chisel to remove grout and carefully remove surrounding tiling.
Now the male end of the strange non-threaded fitting is more visible. It's brass, and it won't budge.
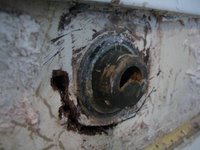
Step 3: Begin Removing Backing

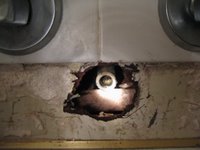
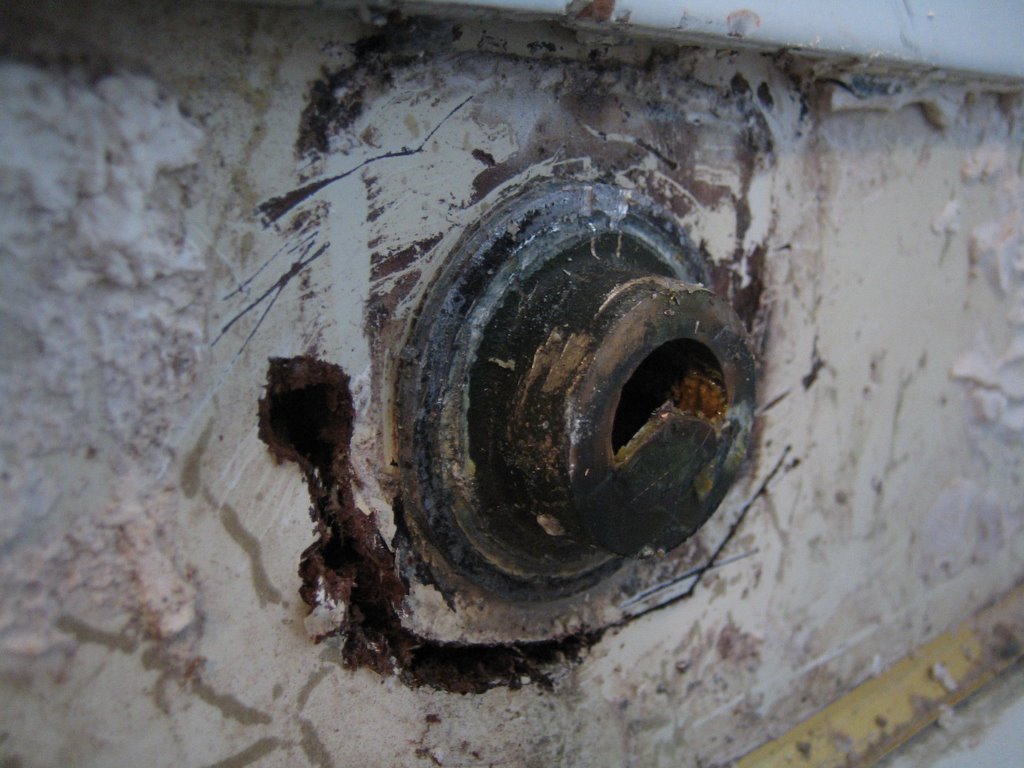
What appears to be 40's/50's wallboard is easily removed with a chisel.
Now the fitting is more exposed and piping is visible behind the wallboard. The fitting appears to be part of the pipe neck, but it's hard to tell.
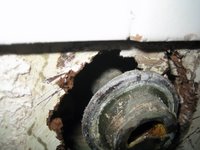
Step 4: Remove Faucet Pipe

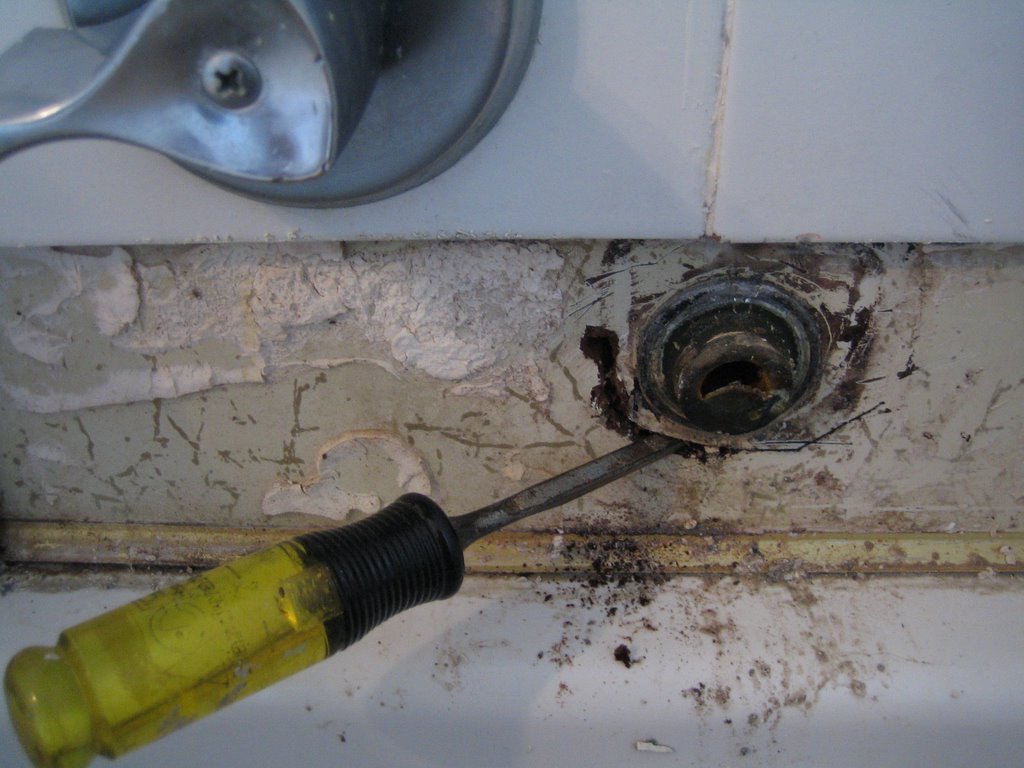
Using a plumbers wrench the faucet pipe is wrenched off. Hard to get a hold on that darn fitting!
The fitting has been completely removed without damaging other tiles. Whew.

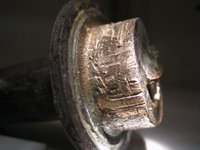
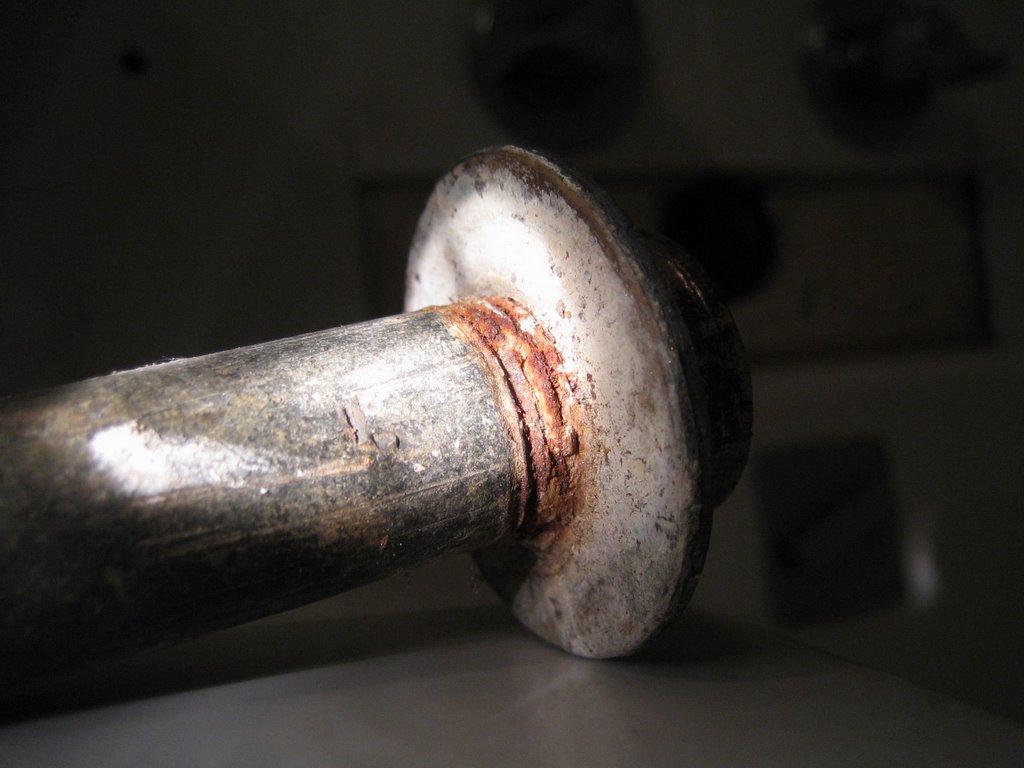
A nice closup of the mystery fitting. Looks like it was once an accessory fitting screwed on the end of the 1/2" pipe. It has since rusted solid. Strange - any ideas anyone?!
Using a plumber's wrench, the faucet head was twisted off. It snapped off instead of twisting. Hmm.

A closer look at the fixture reveals a strange non-threaded fitting. 40's? 50's? 60's? Ugh.
Step 2: Remove Tiles
Use a chisel to remove grout and carefully remove surrounding tiling.
Now the male end of the strange non-threaded fitting is more visible. It's brass, and it won't budge.
Step 3: Begin Removing Backing
What appears to be 40's/50's wallboard is easily removed with a chisel.

Now the fitting is more exposed and piping is visible behind the wallboard. The fitting appears to be part of the pipe neck, but it's hard to tell.

Step 4: Remove Faucet Pipe
Using a plumbers wrench the faucet pipe is wrenched off. Hard to get a hold on that darn fitting!

The fitting has been completely removed without damaging other tiles. Whew.
A nice closup of the mystery fitting. Looks like it was once an accessory fitting screwed on the end of the 1/2" pipe. It has since rusted solid. Strange - any ideas anyone?!
